Alternative Backgrounds Tutorial
My previous post showed how to put together a Poppy Field. Here I want to share with you some ideas for creating a similar background but in a variety of different ways.
At first glance this background might look the same as the one in my first post on this topic but this was made without a pattern and just put together by eye. Not difficult to do, but my tip would be to go for a straight horizontal line to start to denote the horizon. After that anything goes!
I have quilted this piece in straight lines in matching threads, back and forth before adding any flowers.
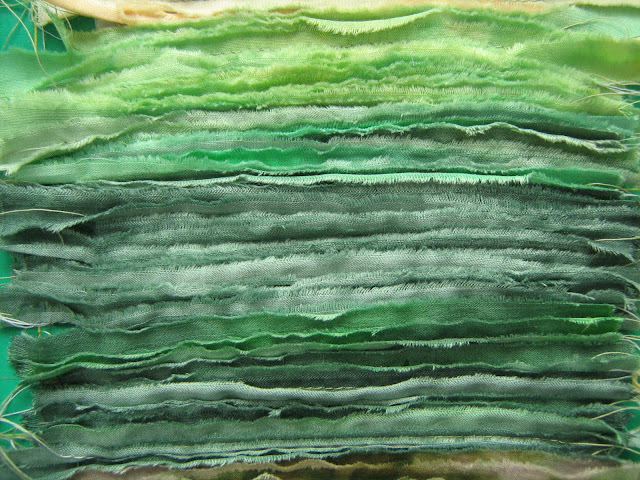
For this next method I tore thin strips and stitched them row by row along their centre onto the a background.
The rough edges give it texture.
This background continues with ripping and stripping, but once the fabrics are placed on the background they are covered in a sheer layer and then machined down into place.


Lots of pictures but you get the drift and below is the finished background.
And finally small straight strips, a few of each colour, will result in this.


So, so amazing! I know that I have said this to you already! But I truly admire you for dying your own fabrics! And the time involved...
ReplyDeleteBlessings & Aloha!
I love the texture even before it is covered and quilted. Wonderful technique. I will have to give it a try.
ReplyDeleteThank you for sharing it with us.
Thank you for taking the time to leave this comment Joan. I appreciate it.
DeleteAbsolutely love this. Thank you so much
DeleteThese are some great ideas to work with. The texture is great!
ReplyDeleteSuch amazing art.
ReplyDeleteCongratulations!
Thank you! I've been searching for various ways to make backgrounds and this post helped! I love the torn strips covered with tulle idea and will try that!
ReplyDeleteHate to say this, but I loved the rough look before you put the sheer over it and sewed it down. I would love to get this 3-D effect! Did you press the pieces in one direction before applying the sheer on top?
ReplyDeleteThis is just beautiful. Can't wait to try it.
ReplyDeleteThank you. I hope you enjoy it.
DeleteVery clever! Thank you for sharing.
ReplyDeleteLove all the different ways to make a landscape. Thank you, I will be trying them all in due course, ie. when I have finished everything else I have on the go!!!!!
ReplyDeleteThat is lovely to hear Gill. Thank you for taking the time to comment.
DeleteDo you have a post on dyeing your own fabrics? I've tried and failed miserably. I would like to know how you did it. Any suggestions would be really appreciated.
ReplyDeleteI also like your landscape ideas. I hadn't thought of that before. I have done a landscape with different print fabrics and kites flying on it. How big is your piece that you landscaped? Thank you for sharing.
Thank you for your comment. I paint on my fabric and share my processes in my book Small Art Quilts. Also look through the tutorials on this blog.
DeleteThis comment has been removed by a blog administrator.
ReplyDelete