Paint Effects Tutorial -Layers
This fabric painting method gives such wonderful effects and is so easy to do.
I have named it Layers as the colour seems to settle in layers as I will show you in this quick tutorial.
I have named it Layers as the colour seems to settle in layers as I will show you in this quick tutorial.
 |
| watered down textile paint |
My paint of choice is Pebeo Setacolor textile paints. To get this effect you have to use the Transparent (now re-branded as Light) paint, not the Opaque.
Mix up two or three colours, although there are no restrictions as this is a great method for using up any bits of left over paint. Begin by lightly spraying the fabric with water.
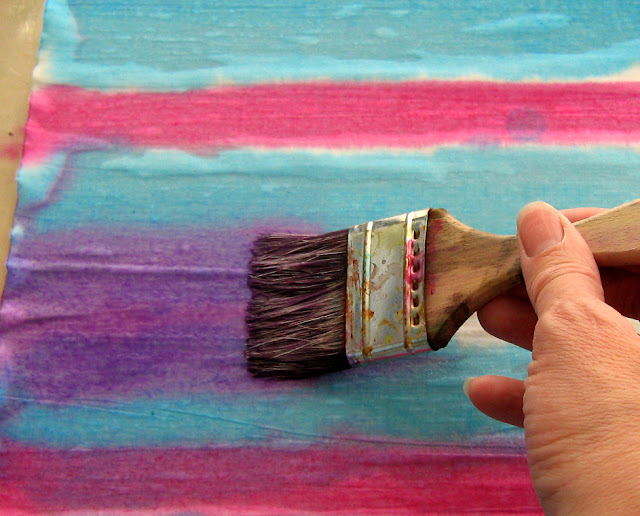
Load a broad paint brush with colour. Begin painting strips of colour horizontally across the fabric in long bold strokes.
Add the next colour
and the next. (Don't worry about drips and splashes.)
Change the brush to vary the thickness of the colour.
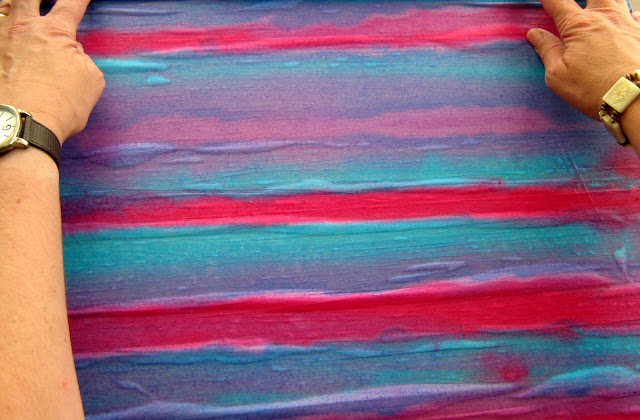
While the fabric is still wet, grab with both hands and scrunch the fabric up by pulling it from the top to the bottom. Put gloves on if you don't want to get messy hands.
Leave in situ, or move somewhere convenient but then don't move again until completely dry.
Alternatively, fold or pleat the fabric neatly.
Here are the finished results (not ironed at this point).
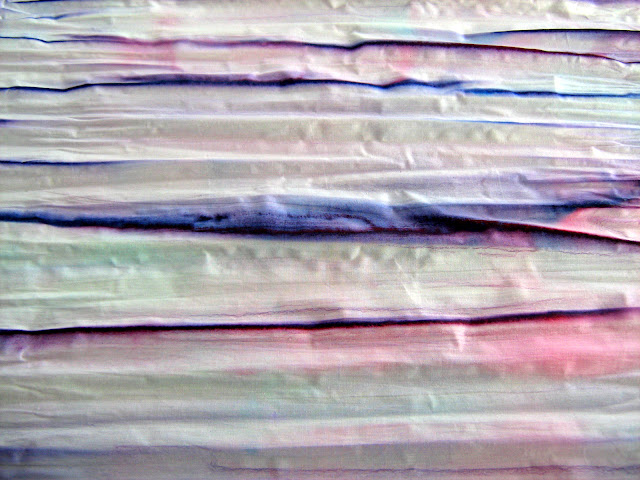
The finished fabric is lighter in colour when dry, but the level of "scrunch" plus the strength of light available, will determine how much depth of colour is in the final piece.
Heat fix with a dry iron. Experiment with different colour combinations and enjoy the serendipitous effects.
UPDATE


Very pretty. That could become very addicting. Do you use a fabric dye like "Rit" or something else?
ReplyDeleteThis is so lovely! and so easy too. I must give this a try. Are you using fabric paints?
ReplyDeleteI am also in England and would love to give this a try.
ReplyDeleteWhere do you buy your paints from?
Jo
Is your paint full strength or diluted?
ReplyDelete