Poppy Field Tutorial
We are holidaying in France this Summer. We will take the ferry and drive to our destination as we have done before. I always love the poppies that grow along the edge of the road, like a frill on the side of the fields.
Thinking of this has inspired my to put together a new kit called "Poppy Field".
As an extra aid here are some photos to help with the directions given in the kit, but also as a general tutorial for you to look at.
The background is constructed by following the lines on the printed "background" sheet. Begin by placing the sky fabric and the lightest field fabric right sides together and placing them onto the top/sky space on the pattern.
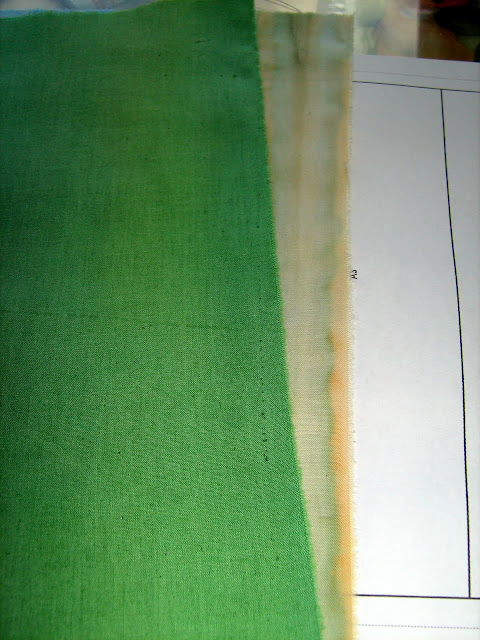
For a simple form of piecing like this you only need to fold the layer, fabrics and paper and finger press to give a nice crease as shown in the pic below.

Open flat and stitch along crease line after checking that you have positioned the fabric correctly and have enough seam allowance.
You can trim off the extra seam allowance with scissors or a rotary cutter. When you have finished trim the whole piece to the size of the paper.
Make your quilt sandwich.
If you plan to do lots of straight line machine quilting I recommend you do it before adding the appliques.
Here are some tips to make constructing the rest of the piece.
After cutting out the poppies and stems lay them out on the background and position them. Fuse the bottom edge of them stems. remove the flowers and finish fusing the stems down.
Stitch the stems down. I have used a zigzag in two different sizes and two different colours.
Now is the time to add our own creative ideas to the piece. Stitch or not stitch around the petals. Maybe add some beads to the centre.
Finish by zigzag if you wish. I added a blanket stitch to this one.


I love this art quilt. I always like the ones with poppies, and I think I can actually do something like this.
ReplyDelete