Playing with Scraps continued
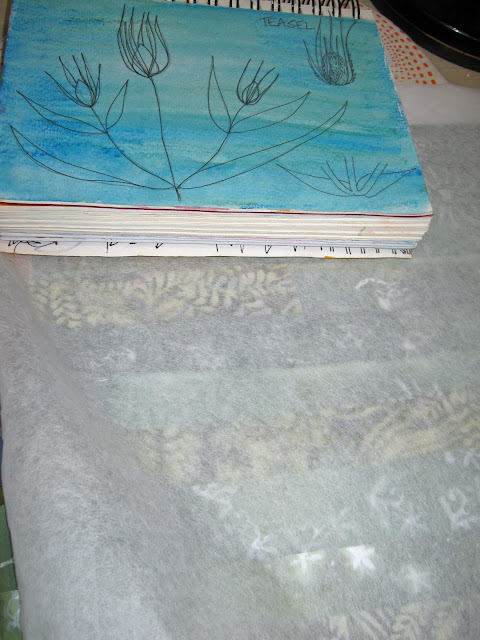
The next step in this process was to lay some "stitch and tear" stuff over the top.
I think this is a brand name but there was nothing on the packaging and I bought my roll at a show years ago. You could use tracing paper or tissue paper for this step.
Referencing a drawing that I have done of the teasels that appear around here every other year, I sketched this.
(Don't you just love a plant that can only be bothered to turn up every other year!)
If you haven't tried this before it is a great way to get a design or motif onto a background. You can move around by sewing a few stitches on top of each other before moving to where you need to go next. The threads can be snipped off at the end.
There is no need to do too much stitching at this stage as the simpler the stitching the easier it is to remove the drawing.
When the stitching is finished, the paper comes off.


Great little demonstration there. Love the way the stitching looks finished.
ReplyDeleteHmmm... but how does "A" meet "B"? hints are appearing... ;)
ReplyDeletethis is brilliant! you are clever!
ReplyDeleteCool idea Deborah...I will most definitly give this a try!! Thanks for the inspiration!! hugs
ReplyDeleteI really like this idea. I have used wash away which is nice to put things on with and I would assume that would work for this technique.
ReplyDeleteDebbie
I adore that teazel design, it works wonderfully as youre doing it here.
ReplyDeleteIve never tried stitching over stitch and tear but you may have pursuaded me to try it at last!